


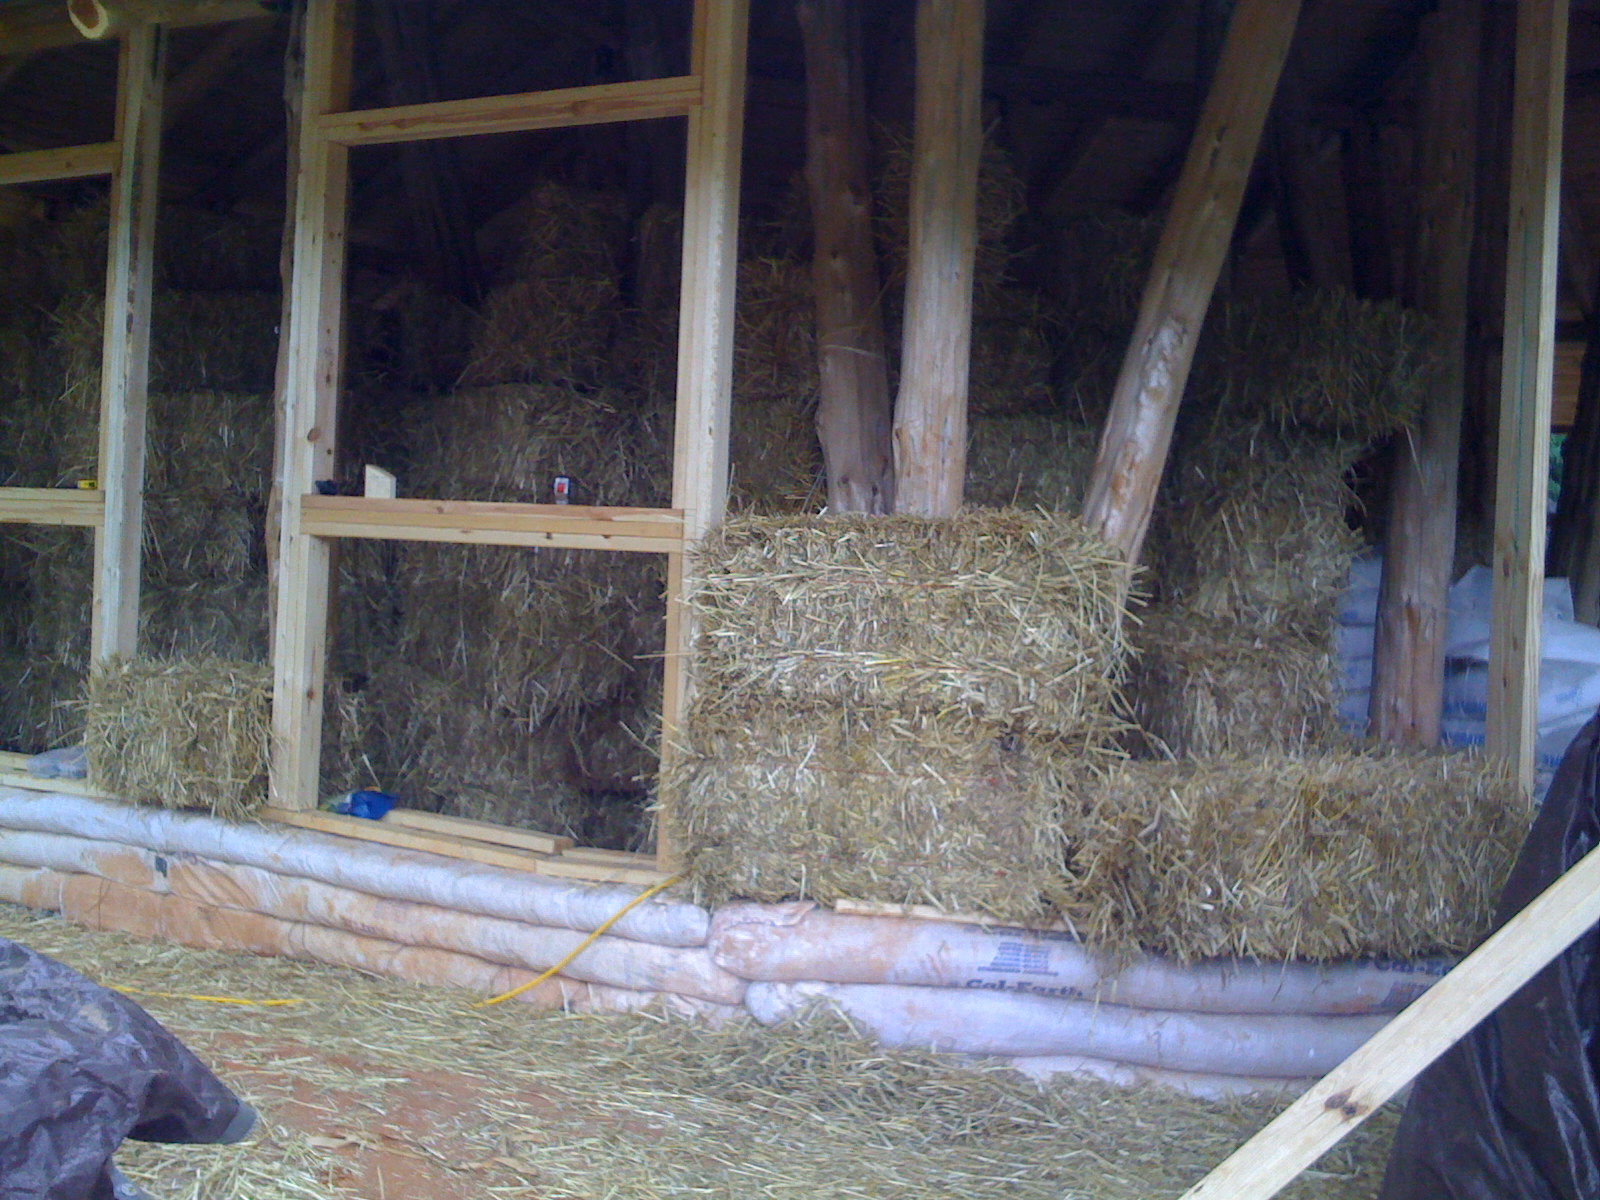


Straw bales form the insulation and inner body of the walls. There is much lore on straw bales that is worth learning, such as making sure that you have bales that are baled straight rather than chaotically, making sure they are sufficiently dry, and the like. I will leave off a detailed body of advice here except to say read extensively and try to find people who have done this if you want to do it. They are held in place with bamboo poles with wires through the bales inserted with things that look somewhat like long steel needles with holes drilled in the stabbing end to allow a wire to be passed. They were shaved with weed-eaters and a chain saw to allow for an even surface for application of the plaster. The smurf-tubes hold the wiring for the house's electrical system. Advice: spend the additional money for 3/4" tubes even for smaller gauge wire, such as 14g, as it makes it easier to pass and remove if you have to.